Getting Started Tutorial for DesignCap
1. Choose a Template
Open www.designcap.com in your browser. On the homepage, click Get Started Now button to start your project.
Once you enter DesignCap, there are hundreds of professionally designed templates listed on the page. Choose a favorite template to edit or just start from scratch by using the blank page.
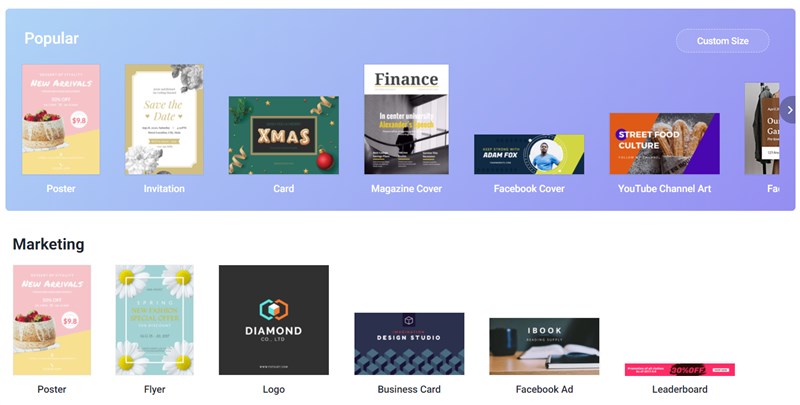
Tip: You can filter the templates quickly by using the tags we provided.
2. Add and Adjust Photo
2.1 Add photos
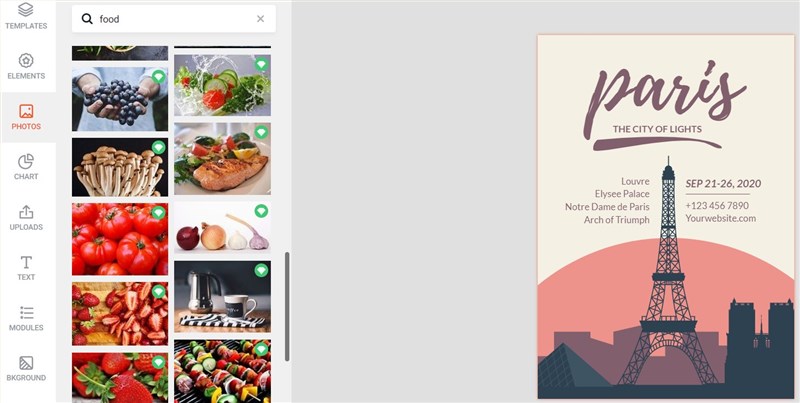
Click PHOTOS tab on the left sidebar and enter keywords in the search box to search photos from Internet.
2.2 Add photos from computer
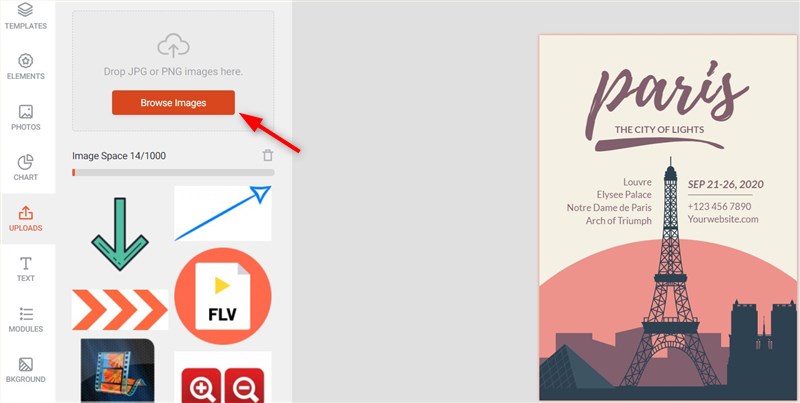
Click UPLOADS tab on the left sidebar and then click Browse Images to add photos from local computer library. Also, you can simply drag and drop your local photos here.
2.3 Adjust photo
You can move, resize and rotate any photo at will with mouse dragging.
Select a photo and the editing panel will appear on the top:
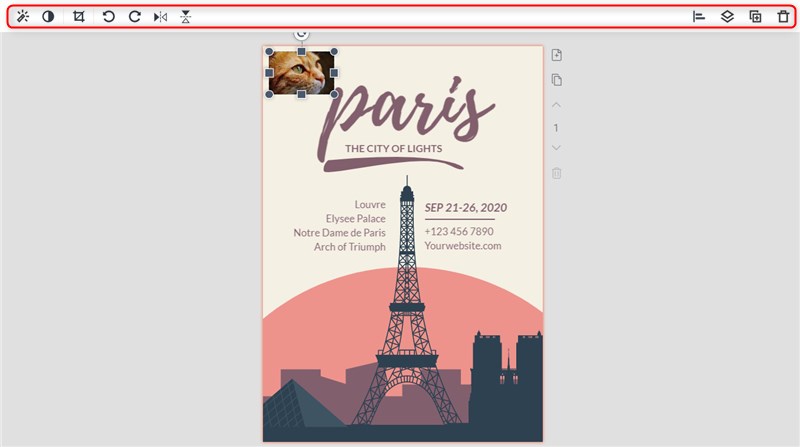
Choose ![]() option to adjust photo effect. Apply any popular effect to your photo by clicking on the effect you like. Click None to remove the photo effect.
option to adjust photo effect. Apply any popular effect to your photo by clicking on the effect you like. Click None to remove the photo effect.
Click ![]() to adjust the filter. Drag the slider of Opacity, Exposure, Brightness, Contrast, Saturation and Hue to adjust the filter. Click Reset All to reset all the color adjustments you made to the photo.
to adjust the filter. Drag the slider of Opacity, Exposure, Brightness, Contrast, Saturation and Hue to adjust the filter. Click Reset All to reset all the color adjustments you made to the photo.
Double click the photo or click ![]() on the editing panel to crop your photo. Drag the slider to zoom in/out on the photo to your satisfaction. Then move the photo with mouse to show the exact part you want. The rest part of the photo will be hidden. Click Done to finish cropping, or click Cancel to show the original photo you added.
on the editing panel to crop your photo. Drag the slider to zoom in/out on the photo to your satisfaction. Then move the photo with mouse to show the exact part you want. The rest part of the photo will be hidden. Click Done to finish cropping, or click Cancel to show the original photo you added.
Click ![]() or
or ![]() button to rotate your photo by 90 degrees anti-clockwise or by 90 degrees clockwise.
button to rotate your photo by 90 degrees anti-clockwise or by 90 degrees clockwise.
Click ![]() or
or ![]() button to flip the photo horizontally or vertically.
button to flip the photo horizontally or vertically.
Click ![]() to align to page. You can align left, align center, align right, align top, align middle and align bottom.
to align to page. You can align left, align center, align right, align top, align middle and align bottom.
Click on the appropriate button ![]() to adjust layers for the photo - move it forward, top, backward or bottom at will.
to adjust layers for the photo - move it forward, top, backward or bottom at will.
Click ![]() to duplicate the selected photo.
to duplicate the selected photo.
Click ![]() to delete the photo you selected.
to delete the photo you selected.
3. Add and Customize Elements
3.1 Add Elements
Click ELEMENTS tab on the left side bar and then you can choose from our presets to use or search millions of elements from Internet to decorate your design.
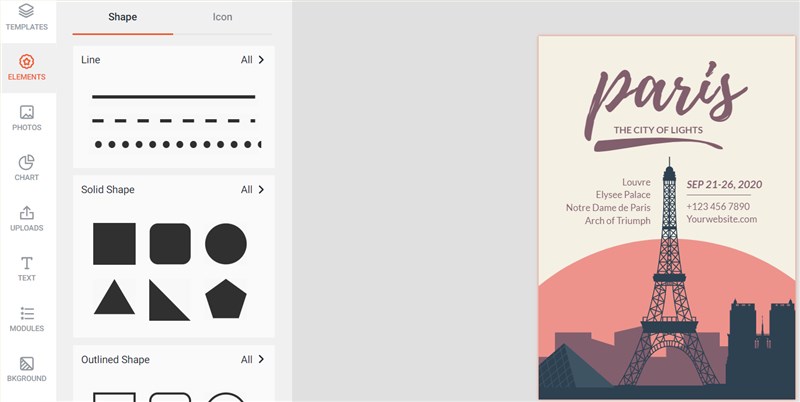
These elements are arranged into several categories: Shape, Icon, etc. Choose Shape and scroll down to preview all preset items included in this category. Then click or drag your favorites to add onto your design.
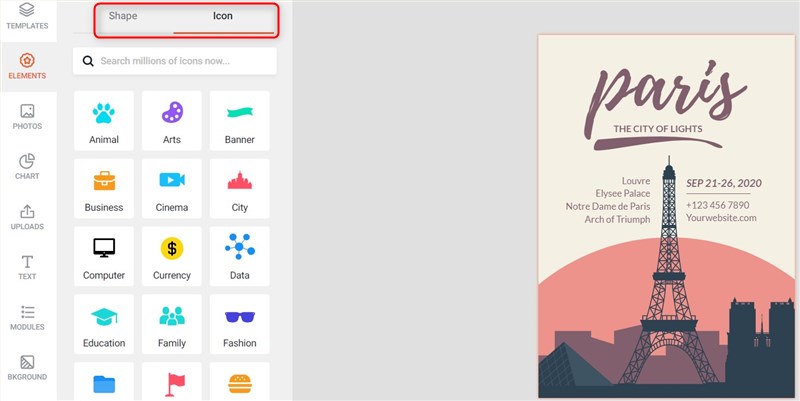
Switch to Icon and you can search millions of choices from the Internet by entering keyword or choosing the tags we provided.
3.2 Customize Elements
You can move, resize and rotate any element at will with mouse dragging.
Select an element and the editing panel will appear on the top:
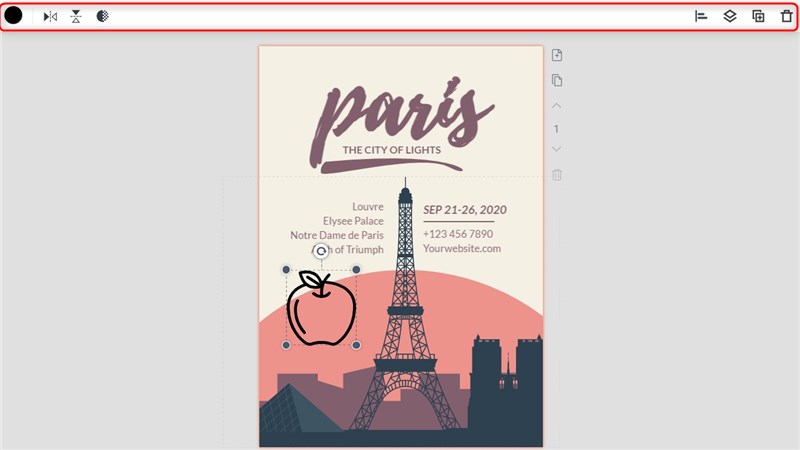
Click color button ![]() to adjust the element color. On the pop up color picker, pick the color you want for the elements.
to adjust the element color. On the pop up color picker, pick the color you want for the elements.
Click ![]() button to flip the graphic horizontally or vertically.
button to flip the graphic horizontally or vertically.
Click ![]() and drag the slider of Opacity to adjust the opacity properties;
and drag the slider of Opacity to adjust the opacity properties;
Click ![]() to align to page. You can align left, align center, align right, align top, align middle and align bottom.
to align to page. You can align left, align center, align right, align top, align middle and align bottom.
Click on the appropriate button ![]() to adjust layers for the photo - move it forward, top, backward or bottom at will.
to adjust layers for the photo - move it forward, top, backward or bottom at will.
Click ![]() to duplicate the selected photo.
to duplicate the selected photo.
Click ![]() to delete the photo you selected.
to delete the photo you selected.
4. Add and Edit Text
4.1 Add Text
Click the TEXT tab on the left side bar and then you can freely add text to your design.
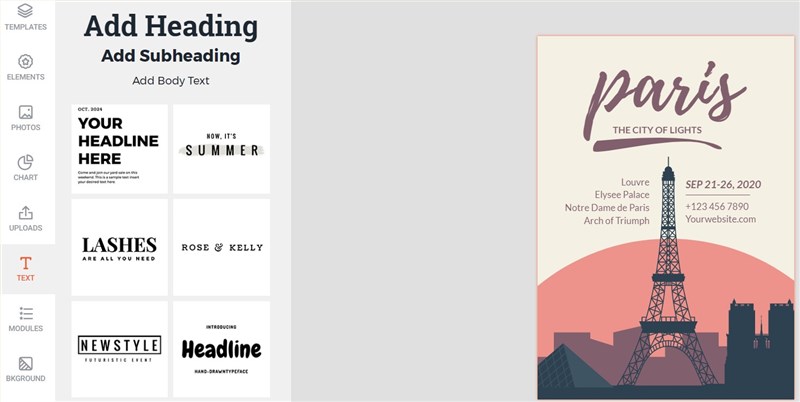
There are many preset text styles available. You can directly click and then a new text object will be added to your design.
Tip: You can drag any text style to replace the original one on your design.
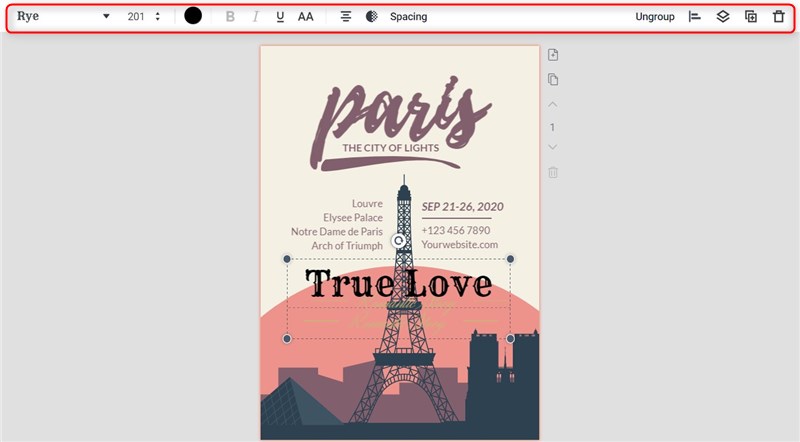
4.2 Edit Text
You can move, resize and rotate any text at will with mouse dragging.
Double click the text you added or the prewritten text coming with template and you can directly input you own words at will.
Choose the text object you want to edit and then the editing panel will appear on the top:
Choose ![]() to set text font, size, color, etc.
to set text font, size, color, etc.
Select ![]() to set bold, italic, underline and uppercase.
to set bold, italic, underline and uppercase.
Click ![]() to set format like left, center and right, opacity and spacing.
to set format like left, center and right, opacity and spacing.
Click ![]() to set align to page, layer (forward, top, backward, bottom), duplicate and delete.
to set align to page, layer (forward, top, backward, bottom), duplicate and delete.
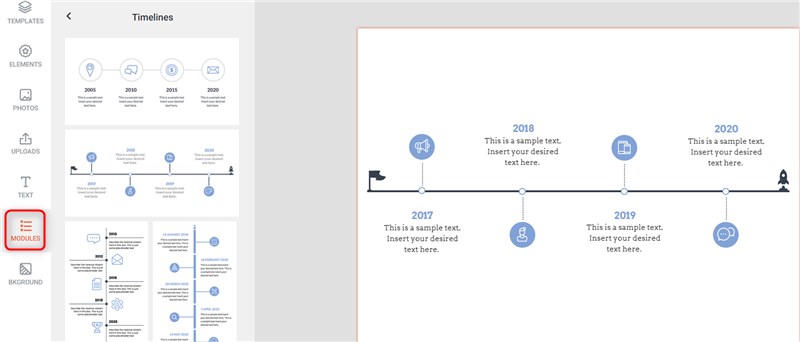
5. Add Modules
You can add modules like icons & text, images & text, options, steps, timelines, diagrams, comparisons, statistics and SWOT.
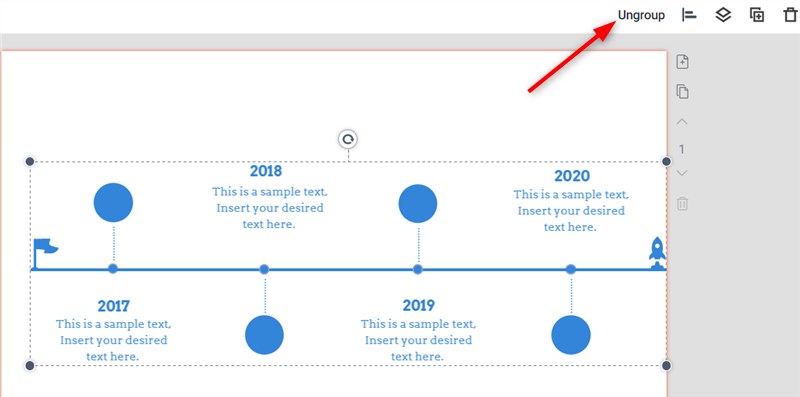
Select the whole module, and click Ungroup to edit each element on this module. Fox example, you can drag, delete and edit the small circles on this picture. If you want to make some changes to the whole module, just select the module and click Group.
6. Add and Edit Chart
6.1 Add Chart
Click CHART tab on the left side bar to add one or more charts to your project.
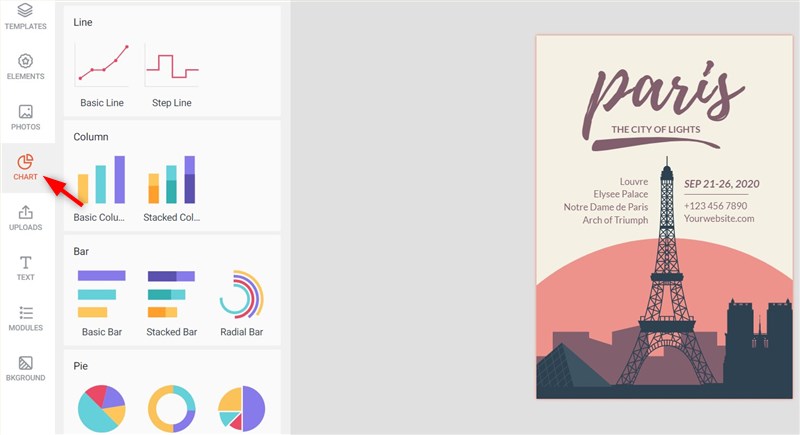
There are many preset chart styles available, for example, line, column, bar, pie, area. You can directly click and then a new chart object will be inserted to your design.
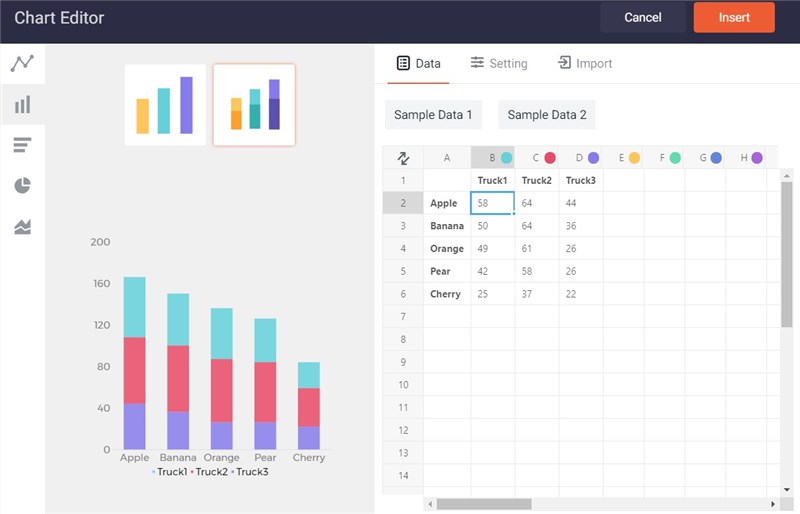
6.2 Edit Chart
After clicking a chart, this chart editor will pop up immediately. You can customize all data as you need and you can also import files in xls, xls, and csv format.
7. Set Background
Click BKGROUND tab on the left side bar and then customize the background for your design.

Choose a solid or gradient color you want to fill the background. Click + button to add your own custom color to use. You can simply drag any color to remove it from the list.
Or choose a preset pattern from the pattern list to fill the background and you can preview it instantly.
8. Save, Share & Print
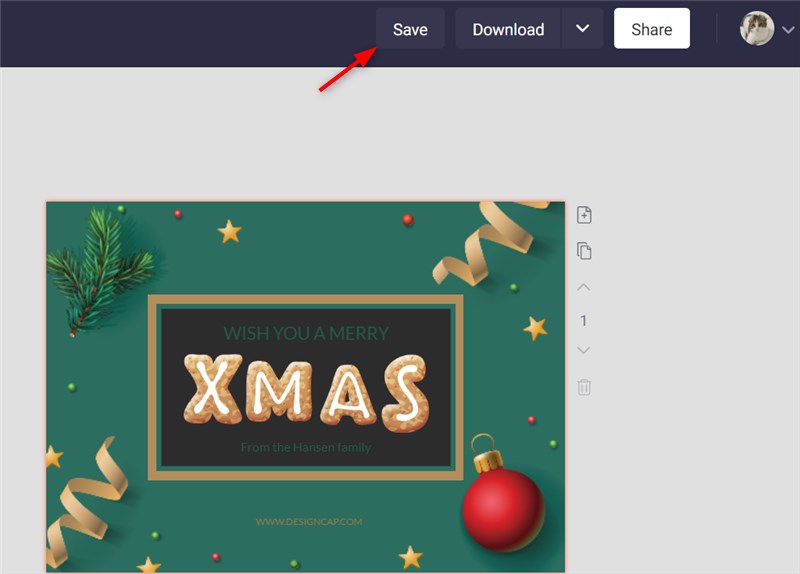
Save
Click Save button on the top banner to save your design in your account.
In My Designs panel, you can view, duplicate, delete, or re-edit any designs at any time.
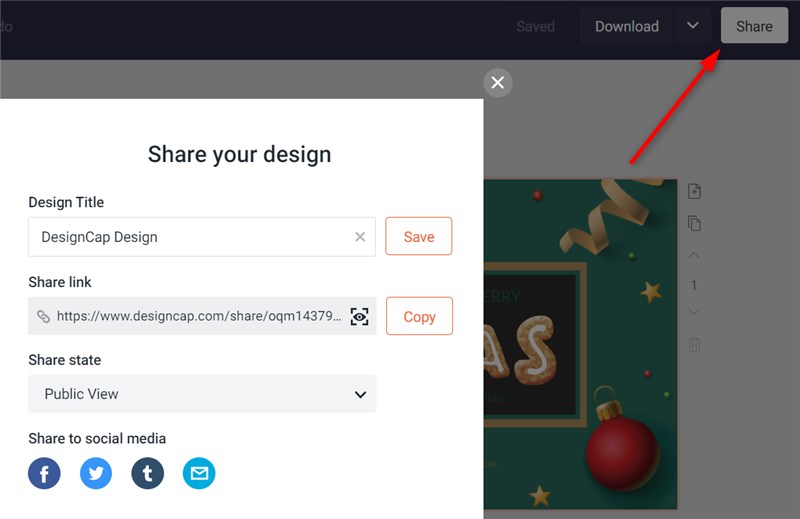
Share
Click Share button on the top banner to share your design to Facebook, Twitter or Tumblr.
Choose Facebook icon and login to your Facebook account, then click SHARE to share your design to Facebook.
Choose Twitter and login to your Twitter account, then click SHARE to share your design to Twitter.
Choose Tumblr and login to your Tumblr account, then click SHARE to share your design to Tumblr.
Choose Mail and login to your mail account, then click SHARE to share your design via mails.
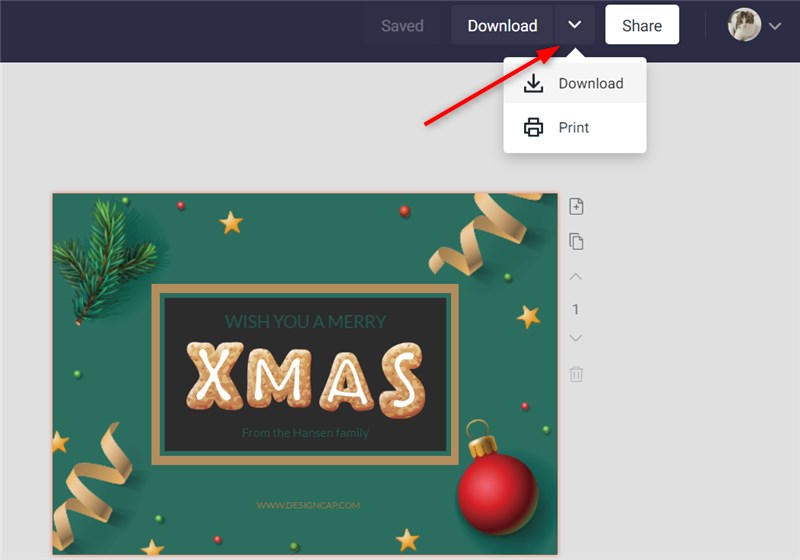
Download & Print
Click Download button on the top banner to download or print your design out.
Choose Download option and then set the name and the output format (JPG, PNG or PDF).
Click Size combo box and then choose a desirable size (Small, Medium, Large or XLarge) for your design.
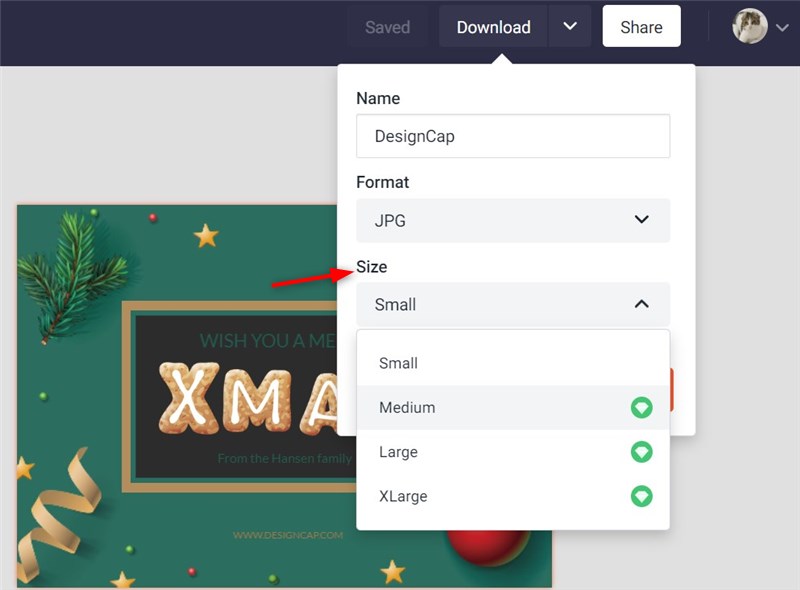
Click Download and your design will be automatically downloaded to your computer.
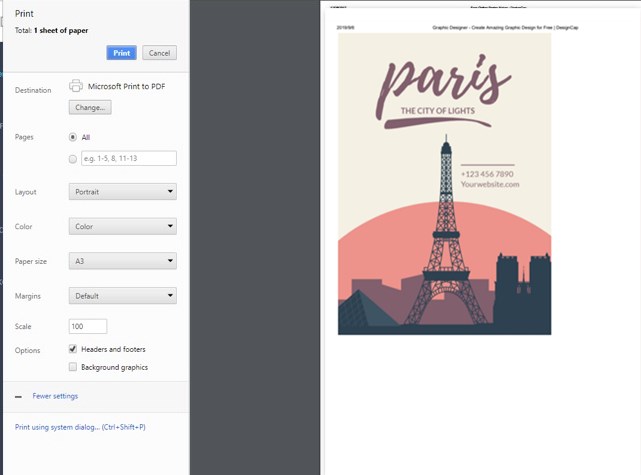
Choose Print option and then make print setting as needed on the popup window. Finally, click Print to print your design directly.
9. Advanced
Undo/Redo
Click ![]() button on the top banner or directly press Ctrl - Z to undo the last action you did.
button on the top banner or directly press Ctrl - Z to undo the last action you did.
Click ![]() button on the top banner or directly press Ctrl - Shift - Z to redo the effect of undo action quickly.
button on the top banner or directly press Ctrl - Shift - Z to redo the effect of undo action quickly.
Tip: Replace Ctrl with Command on Mac.
Align Object
DesignCap will automatically align the target object both to its adjacent objects and to the entire page when moving.